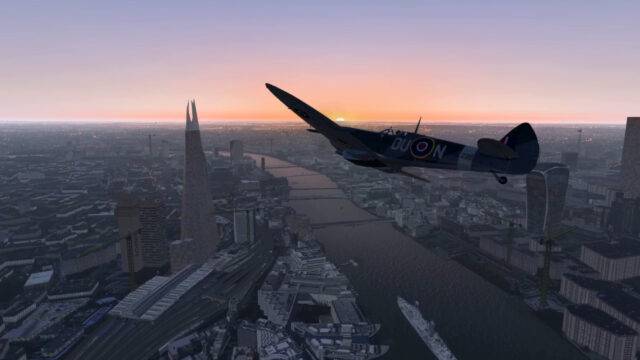
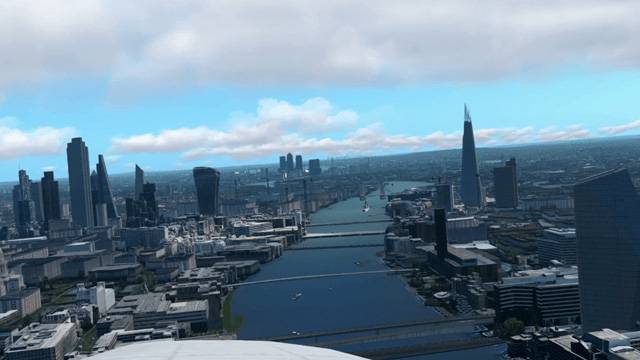
Auto View Distance Utility for X-Plane
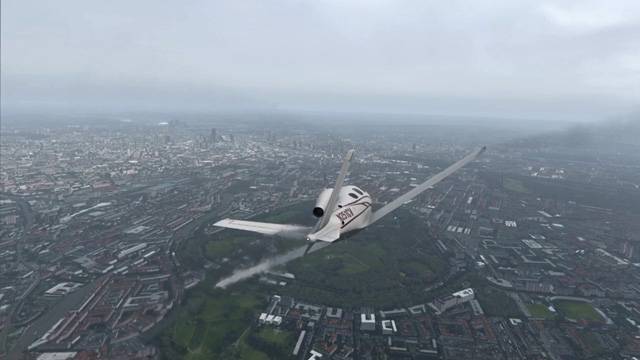
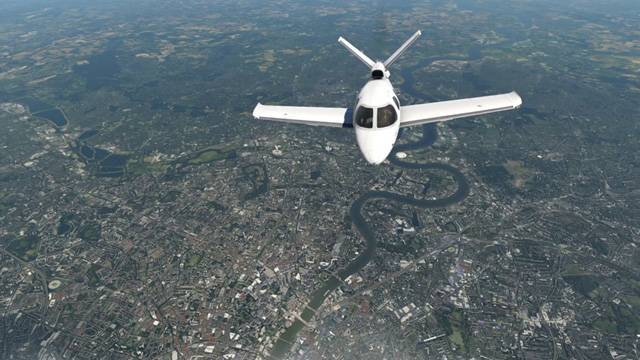
LFD’s Auto View Distance utility will optimise X Plane’s graphics engine dynamically to bring you the best results for your configuration. Compatible with XP11, XP12, VR and Vulcan.
Page Contents
Download
Your Feedback Will Help
I am unable to perform a deep test of the code, so I will be relying on feedback to indicate if there are any bugs or problems or if a feature is good, bad or great. Please let me know in the X-Plane.org comments section.
How it Works
The Auto View Distance (AVD) utility will optimise X Plane’s graphics dynamically to bring you the best results for your configuration. You control how that happens.
The computational power saved from invisible far-distance calculations can be spent increasing the quality of your local area. Saving as little as 5% on the view distance that would normally be lost in atmospheric haze can make all the difference to your machine.
Even in a correctly configured system there will be times when the complexity of scenery and weather can cause your FPS to drop to levels that cause visual stuttering. During these times the utility will automatically reduce the view distance to alleviate the burden and restore your minimum FPS. You control the speed and depth of that response.
The FPS power you save will allow you to:
- Increase the Number of World Objects setting
- Increase the Texture Quality setting
The ‘Number of World Objects’ Setting
The primary X Plane setting that can be radically improved by using the AVD utility is the Number of World Objects.
…without the AVD Utility
Without the AVD utility, the only way to lower FPS demand from scenery is to reduce the density of the buildings across the whole view for the entire flight. That results in an unsatisfying and unrealistic representation of towns and cities.
…with the AVD Utility
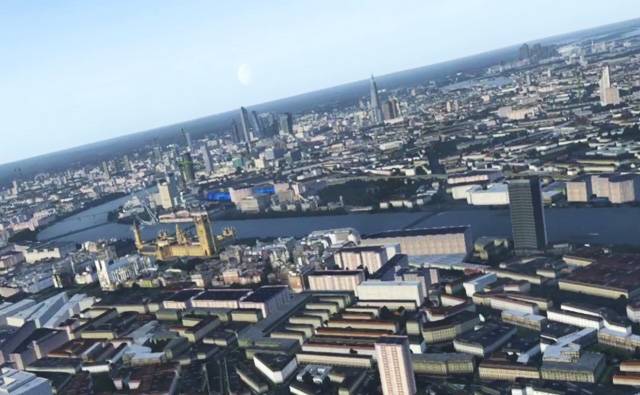
When AVD is running, the Number of Objects can be set to maximum, making your immediate surroundings much more realistic. When your FPS allows, this level of detail will spread to the horizon.
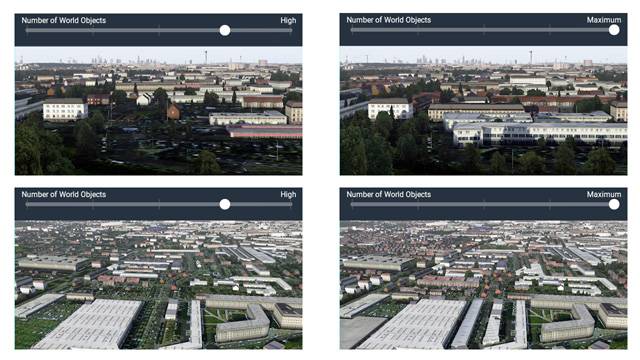
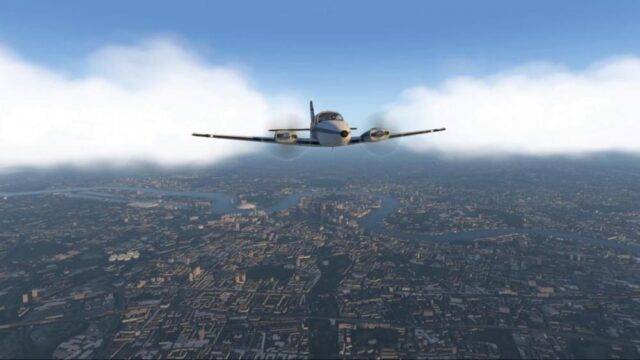
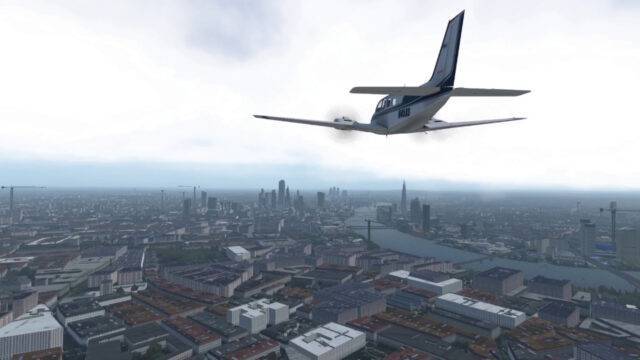
of world objects in 2 different locations
Key Features of Version 2.2
- automatic adjustment of view distance to maintain desired fps
- an optional dead-zone for automated image stabilisation
- f-act tracking to detect sim-engine speeds below the equivalent of 20 fps
- an enhanced average calculator
- integrated configurable manual override for image stabilisation
What is F-ACT Tracking?
The FPS display now follows f-act as shown in X-Plane’s data display options. F-act matches the speed of the simulation, so when the it drops below 20, this means the sim is slowing down. AVD can now see that happening and attempt to push the sim back to real-time operation. Credit goes to community members for suggesting, testing and solving this feature.
Compatibility With Other Tools
LFD’s AVD utility is intended to be compatible with other tools as far as is possible – it only controls one variable. There is a good chance that there won’t be any ongoing conflict if you leave the LOD aspect of other tools alone. If the utility detects an external adjustment of the utility’s LOD variable “LOD Control Conflict” is displayed on the user interface until the conflict is resolved.
The following utilities are compatible:
- FlyAgi_Tweak_Utility – set its LOD option to manual.
- 3jFPS-wizard – set automatic LOD to off
- ASHA – no change needed
User Guide
Once you have configured AVD, set X Plane’s ‘Number of World Objects’ to maximum for best results.
FPS Target
Choose your minimum required FPS value, ensuring that it is an achievable one. If you have ‘frame limiting’ set (for Oculus VR), you can safely use the limiting number as your target. If the FPS drops below the target value then the view distance (the range of the level of detail) will be reduced to compensate.
Dead Zone
You can now add a dead zone above your FPS target. If the FPS is bouncing around inside the dead zone AVD will not take any action to change the view distance. If the FPS drops below your target or rises above your target plus the dead-zone, AVD will start to adjust the view distance again. This will help reduce or stop your view distance from moving around in an irritating and distracting manner while you are focussed on your flight.
This is an automated feature intended to replace the manual control of the view distance provided by a tool in the previous release.
Example 1: When your aircraft is on the ground at a large airport and various vehicles and aircraft go by it may pull in your view distance. When they pass your dead zone can be used to prevent the view distance from increasing again. If its set up well it should prevent the LOD of various objects popping in and out while you are servicing the aircraft.
Example 2: When at high altitude, the view distance can be seen washing in and out depending on the complexity of the terrain. A dead zone can reduce the frequency of this effect and perhaps remove it, depending on your system and config.
Sensitivity
The sensitivity depends on a combination of the averaging window and the rates of change applied to the view distance.
The default values will provide smooth handling of the view distance horizon with moderate rates of change, but will still be able to climb back from a minimum view distance at a reasonable pace.
These settings depend on your personal preference for smooth replay vs graphical fidelity so you’ll probably want to adjust them to suit your needs.
FPS Averaging Window
The FPS can be averaged over a time period measured in 1/10ths of a second and this can remove short duration spikes in the FPS. There will be a delay in reaction time as the samples are collected to fill your chosen duration and the delay will be about half of the length of the averaging window.
View Distance Retreat Rate
The retreat rate should be faster than the advance rate in order to lower the stutter frequency. A ratio of 2 or 3 time the advance rate value works well. If you set the retreat rate high then the view horizon will shrink visibly when your FPS drops.
View Distance Advance Rate
The advance rate should be less than the retreat rate for best stutter control. If you set this value high you might find that the view horizon washes back and forth rapidly, making it unpleasantly noticeable. If you set the advance rate too low then the view distance may take a long time to recover.
Limits
Although the View Distance is the focus of this application, it’s the View Area resulting from it that determines the graphical burden on your computer.
Each 1% step towards the horizon brings into view a larger amount of surface area than the previous 1%. You can read the relative area as a percentage underneath the view distance readouts on the sliders and on the readout at the top of the form.
Max View Distance
The most distant objects become visible at 93% and after 95% there will be little useful improvement due to reducing object size and haze. Going to 100% will exchange 9.25% of your computer’s resources for an imperceptible gain in fidelity. The FPS response will depend on terrain detail and weather.
If your view horizon is fluctuating noticeably and you find it annoying, you might want to consider opting for a lower maximum view distance to make the visuals more consistent across varying terrain.
Min View Distance
When taxiing at an airport a value of around 30% will retain the highest available detail for the buildings in your immediate vicinity and some of the terrain beyond the airport, which will be fine for getting aloft. If seeing extra building detail isn’t of interest, you can push the minimum to zero to make a final stand against stutter control.
Manual Control
Manual Slider Control
You can try out your system with the test slider to see the appearance at different level of detail. This is useful to determine what settings you might prefer elsewhere in the user interface. The value will stay set until you disable it or start a new flight.
Manual Keyboard Control
You can use keyboard key presses to enable and control the view distance at times where a changing view distance would be a distraction – at high altitude and on the ground. The state of the manual control is reported at the lower left of the screen for a brief period to confirm your inputs.
X-Plane makes use of many of the SHIFT and CTRL key combinations and I have found that the ALT key works well. However X-Plane does use a few ALT (OPTION) + Key combinations
- X-Plane 12 ALT (OPTION) keys: 1 2 3 4 9 E Q R W F4 F13 F14 F18
- X-Plane 11 ALT (OPTION) keys: E Q R T W
User Interface Options
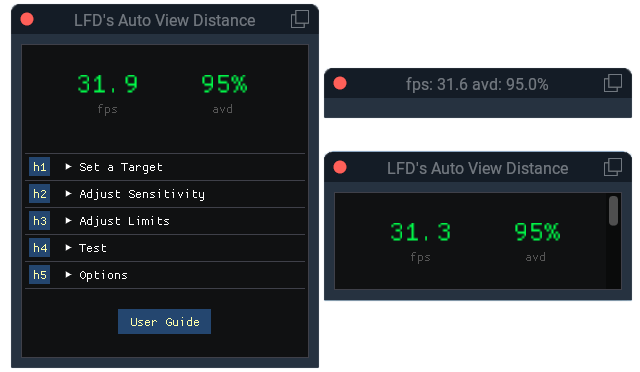
If you want to keep the AVD dialogue visible during flights you can have it remember its dimensions for next time. Be aware that in VR the window sizes are slightly different from the 2D version, and this might cause confusion.
Note that in VR you can grab a corner and scale the dialogue to be smaller.
You don’t need to have the user interface on display for it to do its job. Leaving the dialogue hidden after loading an aircraft won’t cause any problems.
If you make the dialogue small on a 2D screen, the data readouts will jump to the title bar of the window. Unfortunately, LUA has a few limitations and one of them is that you must make a part of the form visible to be able to capture update events from X Plane.
Installation
The first step is the biggest one: you will need the FlyWithLua plugin to provide the power to run this utility – you can find it here. You will be loading it at: >> X-Plane 11 > Resources > plugins.
- Install FlyWithLua
- Put the Auto View Distance utility into the FlyWithLua ‘scripts’ folder which can be found inside the FlyWithLua plugin folder.
- Launch X-Plane and the utility will appear automatically.
- You can turn the dialogue auto-launch off in the options settings.
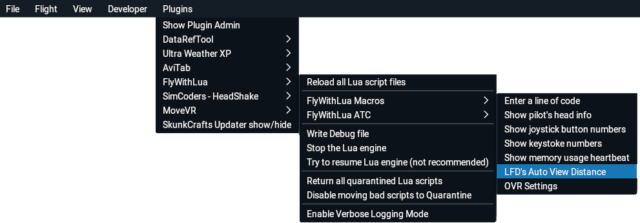
- The user interface can also be launched from:
Plugins > FlyWithLua > FlyWithLua Macros
Configuration
Do This First!
- Select your target FPS carefully, this is a critical step!
- Ensure you are not running other scripts that might be changing LOD variables – you will see a warning notice if that happens.
Before you Make Changes
Take some time to get used to the Auto View Distance Utility in its default mode before tinkering with your X Plane settings in detail. You may see some FPS improvement straight away or the support may come when you are over more complex terrain or using special effects that are pushing your computer’s limits.
When you are ready, the first X Plane change to try is setting the Number of World Objects to maximum.
Tailor the Configuration
Press and hold your cursor on the help buttons (marked h1, h2 etc) for an explanation of whats available.
- Fly to a worst-case FPS scenario area and observe the FPS readout
- If all is well, increase the Number of World Objects setting
- See how this affect the FPS and View Distance readout and spend a few minutes getting acquainted with it.
- If you are OK so far, try increasing the texture setting
- Continue flying and monitoring the readouts
- Adjust the sensitivity sliders to suit your taste. Refer to the Sensitivity section for more information.
Allow for Stabilisation on Start-Up
Be aware that when launching a flight at a complex location the view distance will probably fall initially because:
- The sim will still be loading objects and textures in the background.
- The sim sees a lot more of the terrain, textures and world objects than you do.
For example – if you are on the ground at Heathrow facing London city centre, the frame-rate will be affected far more than if you are facing away from London at the exact same location even though in both cases you can’t see London.
Simply give the sim time to settle and the utility will respond accordingly.
Understand the Sensitivity Settings
There are two sensitivity settings to control the view distance – the shrink rate and the expansion rate. The default values are geared towards reducing stutter by retreating more quickly from FPS drops than the more moderate speed of advance. This strategy will result in fewer and smaller stutters.
You Will Reach a Limit
Although the utility will give you great results comparable to an expensive hardware boost, at some point you will inevitably push your computer beyond its capability. At this point the frame-rate will drop and the view distance will go to minimum and stay there.
That can be frustrating but if there isn’t a specific fault in the your system, and there are no background resource hogs on your computer then you just don’t have enough computing power and have reached your limit. All you can do now is carefully review the configuration of your computer’s hardware and software to free up some more computational power just like you did before AVD.
FPS Flying Tips
There are a few things you can do to avoid having your FPS drop in the first place. If you just want to relax and enjoy the view then consider the following:
- Don’t fly close to complex buildings or the ground.
- Plan your airport use such that when entering, leaving or taxiing at an airport ensure you face away from complex structures on the horizon such as cities, even if you can’t see them.
- When at altitude avoid lining up two cities.
Troubleshooting
How to Test FlyWithLua
FlyWithLua itself could become destabilised in certain circumstances. The net result of that is that it may crash, taking its scripts with it. However, there is also a possibility that a script or plugin may be preventing FlyWithLua from issuing ‘event’ calls to it’s scripts so they are not running correctly. This is something that I have been debugging on a users’ system remotely and I thought the most recent test script might be useful for FlyWithLua’s users generally. The latest version of AVD contains this test script – it merely writes to X Plane’s log file so you can confirm that its is running normally. All instructions are included.
Why Doesn’t AVD Load?
At the time of writing there have been 4,383 downloads and one reported case of AVD failing to load this was due to AVD failing to receive event calls from FlyWithLua – meaning that another plugin or script is affecting the ability of FlyWithLua to run as intended, and is not to do with AVD specifically. The latest version of AVD contains this test script as an additional file you can use to test your system.
In normal operation and on first use, AVD will open automatically for you so you won’t have to look for it (this behaviour can be switched off in its options). If you don’t see the user interface at all, the possibilities are that you have a mixture scripts running in LUA and possibly additional plugins that may:
- Have caused LUA to crash
- Have caused AVD in particular to crash. This is less likely in version 1.9 which has exception handling implemented.
In order to isolate the problem yourself, try to answer the following questions:
- Has LUA crashed?
- Does LUA run properly with no plugins?
- Does LUA run properly with any one single plugin?
- Does AVD respond if AVD is the only LUA plugin present?
- Does AVD still respond when I add my other plugins back in?
If methodically going through that list in order doesn’t reveal the problem, then:
- Check the installation procedure carefully from the start, verifying as you go.
- Check that LUA hasn’t crashed due to a failure in an unrelated script.
- Send me your complete and freshly recreated log.txt file as described in another section.
However, bear in mind that even if AVD can be loaded it can only perform its function if it has complete control over the X Plane LOD variable. Therefore debugging will be a fruitless mission if you are not also prepared to turn off LOD control in other scripts and plugins.
How Do I Send You My Log File?
I can’t promise I can debug the situation from a log file, but if you want me to take a look, make contact via this page first, and when I have replied you can send an attachment.
You should create a fresh log file that contains the AVD information without the repetition that can grow in a normal log file that might confuse the issue. You can find the log.txt file I need located inside the root folder of X-Plane 11. This file is created or extended every time you launch X-Plane, so it would help if you would follow this procedure:
- Exit X Plane
- Delete the log file
- Launch X Plane
- Attempt to load the AVD LUA script
- Zip up the whole log.txt file and send by email
Why Does the FPS Readout Show 1000?
This is a fail-safe value that is returned internally when AVD is unable to get a true reading from X Plane for any reason, but you probably won’t ever see it. If 1000 FPS occurs and persists over a period of time, the view distance will float up to the maximum value that you chose.
Why do the PAPI Lights Disappear?
The AVD utility does not control individual objects, instead X Plane chooses how to respond to the view distance setting. You would be reasonably close to the PAPI lights to make use of them so if you don’t see them it suggests your view distance must have reached a fairly low value. In other words your computer must be heavily loaded. At this point you will need to review your settings. There are tools available which will allow you to choose the density of static aircraft at airports as well as vehicles on the roads and other details. These things can be reduced to give you the FPS you need to raise the view distance enough for the PAPI lights come back into view.
Why is There a Blank dialogue box?
In previous versions, a blank dialogue was possible when there is conflict in the system. The utility has now been recoded to go to a ‘test & wait’ mode instead of trying to overcome the situation. It also has exception handling included to stop problems from disabling the script. When a collision of interest occurs between AVD and another plugin an error message is shown in the user interface for a few seconds before attempting to continue. This message will be displayed repeatedly until the situation is resolved.
If you see this message, you will need to find which other tool is modifying the LOD variable – its probably another tool in your system that is trying to do a similar job as AVD.
Excessive Stuttering?
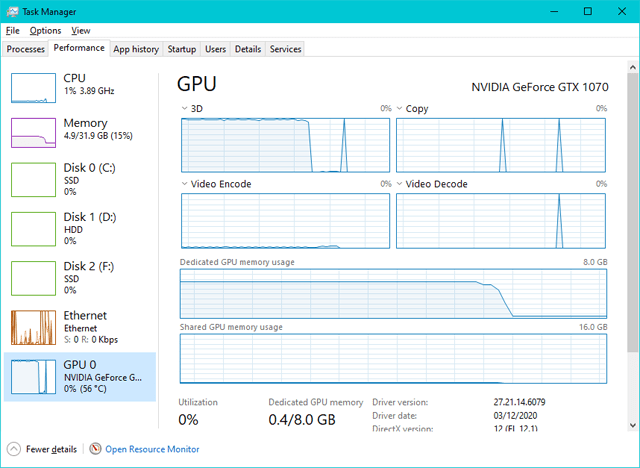
If you are having any issues its always worth checking what’s going on with the Task Manager as the first step to solving it. Look for excessive activity in the ‘Performance’ tab as well as CPU usage on the ‘Processes’ tab.
Check for background downloading by Steam or windows, or virus scanning.
Improve Your Computer Settings
Be aware that there have been no reported errors for the AVD utility. If you encounter a drop in quality of the sim, check your system for background recording or background downloading by Windows or Steam.
You can also check this article for a list of the ways you may be able to maximise your computer’s resources, including these possibilities:
- Optimising your Page File according to rules provided by a long standing Windows expert and employee.
- Ensure Windows and Steam updates are not being downloaded in the background.
- Consider turning off background recording of your flight
- Control virus scan times and durations
- Windows 10 has Game Mode settings you should check
- NVidia card users can get more FPS by configuring the ‘Manage 3D Settings’ tab, choosing performance over quality.
There are many other settings available and you should check your favourites to ensure they are still set as you want them to be.
Screenshots
