G502 Mouse Rattle Fix
My G502 mouse seems to have a rattling centre wheel. It seems this isn’t uncommon, unfortunately but I did fix it. Here’s what I did…
Page Contents
Overview
with moderate hand movements the mouse wheel would clatter against its container and be very irritating. I had no wish to spend the next X years listening to this poor bit of engineering, especially having paid £55 for it.
The following photo sequence will show you how to get inside the mouse and describes what I did to fix it. Unfortunately, I don’t know specifically what I altered, although I can tell you exactly what I did. By pulling back a spring I managed to set it into the correct position.
The net result is that the wheel spins flawlessly when required and yet makes zero rattles in even the roughest of shaking movenets. What a relief!
Before You Begin
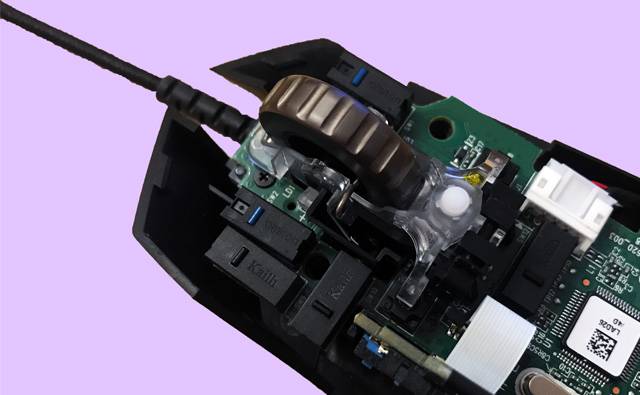
Warning!
If in doubt,
don’t mess with your mouse
since you could make things worse
or break it entirely.
What To Do
Remove Some of the Feet
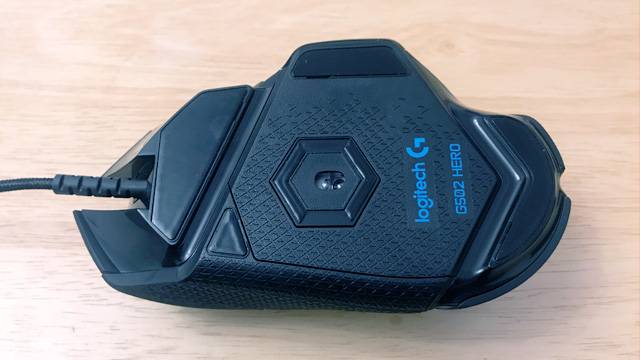
Turn the mouse over and look for the slight indents around the inside edges of the mouse feet containers. These small slots have been provided so that a thin tool can be inserted under the feet to prise them out. Take care not to touch the sticky surfaces, you want them to be in good condition when you put them back.
Take Out 4 Screws
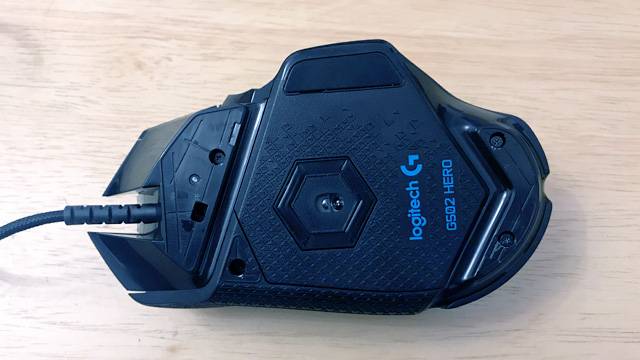
With three of the feet removed you can see 4 screws that need to be taken out.
Ease the Shell Apart
Begin separating the top shell from the electronics. The halves are held in place by some small overhangs and by friction. It’s not easy to figure out at what point you can pull the halves apart so settle in for an unhurried session of slow and steady progress, learning where the sticking points are.
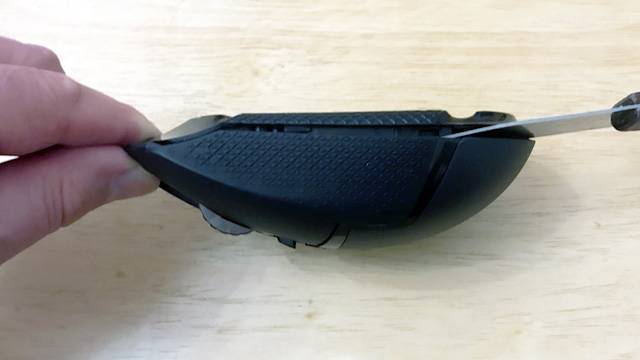
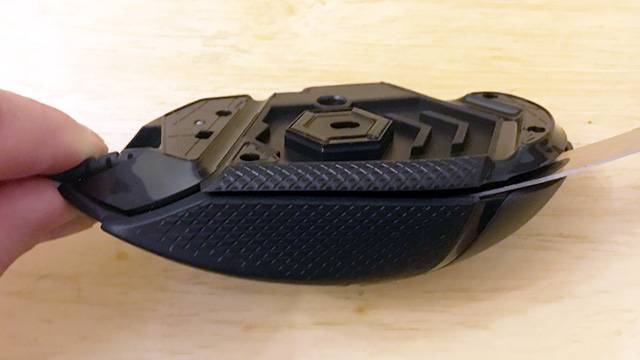
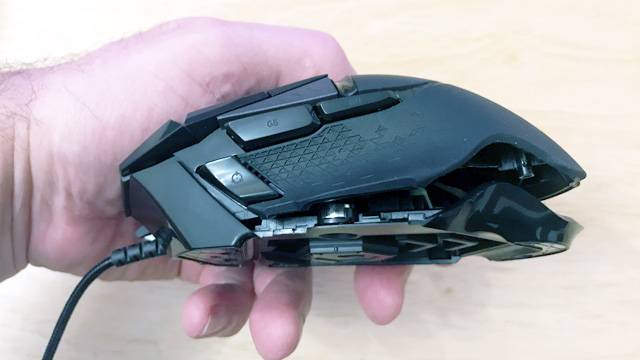
It’s useful to know that you won’t find any connecting wires or other obstacles holding the halves together. It’s simply a tight fit and uses a few small overhangs along the projecting edge to act as clips.
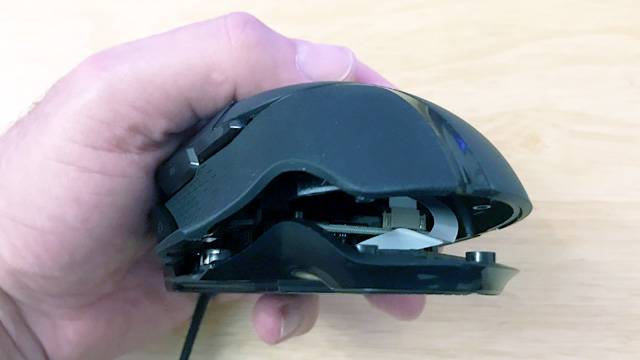
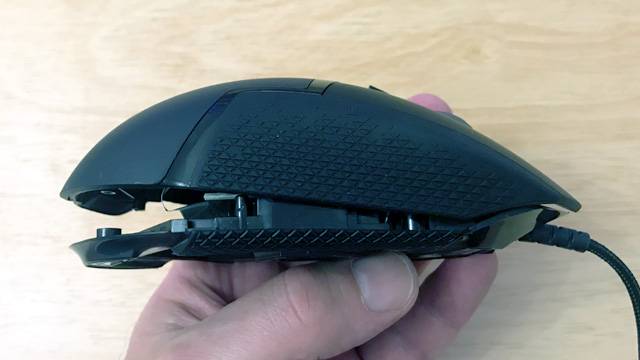
A Mouse of Two Halves
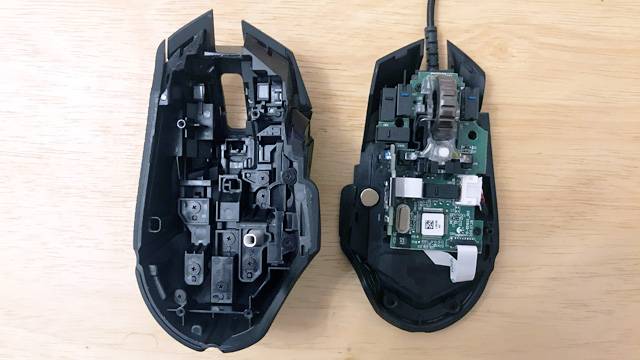
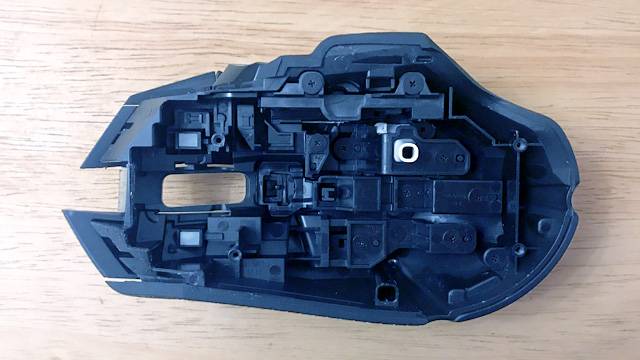
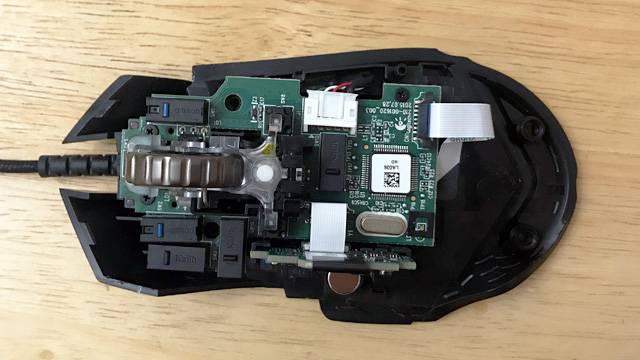
The electronics are all in the base unit. At this stage, you will be able to jiggle the whole assembly and see where the mouse wheel rattle is generated. There is a small amount of play either side of the mouse wheel which allows enough movement for it to collide with its container and make a clicking sound.
Adjust the Wheel Spring
This is where it can all go horribly wrong, so apply even more patience than you have up till now. This part is not a step-by-step instruction so read through a couple of times until y
At the centre of this photo, you can see a steel wire appearing to touch the mouse wheel.
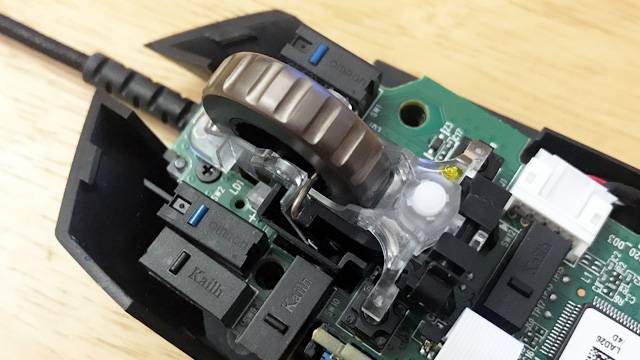
Here is a closer photo of the same location. Near the centre you can see a stiff steel wire/spring close to the indented mouse wheel.
Initially, I intended to remove the mouse wheel, so I used a pair of long-nosed pliers to grab the steel spring and pull it back behind the black plastic guide.
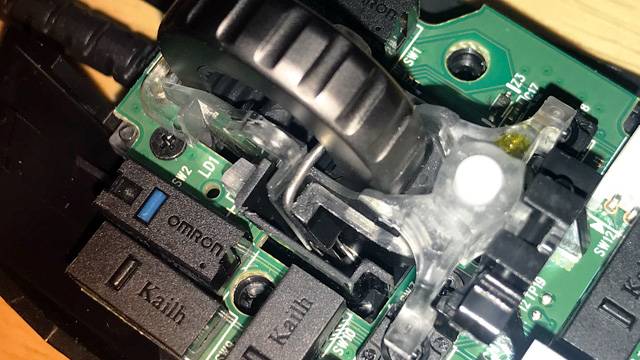
With the spring pulled away from the wheel and resting against the plastic guide I considered how I might get the wheel out or else apply some kind of solution with it in place. Since I didn’t have a definite plan of attack, I decided to put the steel spring back where I found it and think the situation over.
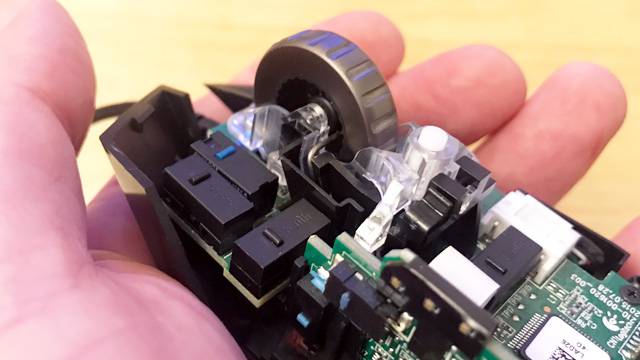
After putting the spring back I suddenly found that I had solved the problem. The wheel rattle had now disappeared!
I can only guess that pulling on the steel spring had changed its ‘rest’ position for the better. It seemed like the new position is where the spring should have been before it left the factory.
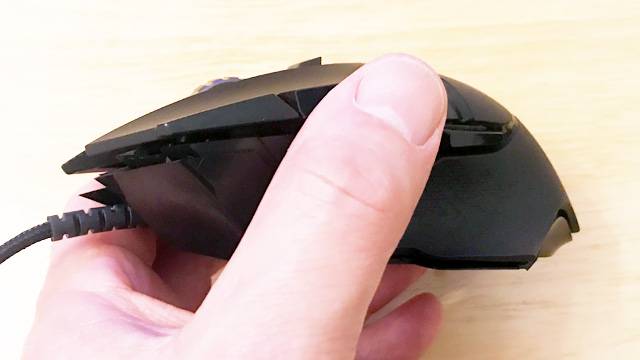
So while I can’t tell you exactly what to do to get the spring into the right position, I can tell you that the only thing I altered was that spring in particular, and now the mouse works silently, probably as it was intended todo all along.
Pop it Back Together
When you reassemble the mouse shell over the electronics, its a snug fit. There was an audible, healthy click when I pressed home the two halves. The click came from the projecting foot at the centre-left as you look down from above.
Aftermath
Since this operation, the G502 has worked silently and flawlessly as it was probably designed to do in the first place, and in this state, I can recommend it as an excellent mouse.
Bonus Solution: The Erratic Mouse Control Problem
While you are here, this is the solution to the erratic drag & drop mouse operation.
After 2 years use I started to have problems with the G502 mouse. I had seen a similar problem with a different Logitech mouse so I already had some failed solutions I had tried before. These are the symptoms:
After grabbing an onscreen element (for example the corner of a windows window) during the drag operation the mouse would let go and then grab whatever screen element was under it at the time. Very annoying.
- I tried updating the device driver but this didn’t change anything.
- I tried raising the priority of the mouse thread in Windows but this didn’t solve it
- Then I noticed that when pressing the mouse-down key a little harder than usual the mouse would not operate correctly
I reasoned that I had hit the 2 year limit as I had done before, so this time I tried buying a new replacement G502 mouse. That worked and proved that the mouse switches have a relatively short lifespan of 2 years. I haven’t had any problems since.

