Floyd’s Epic Weather Guide
This page is a sub-section of the Floyds Epic Clouds where the presets provide specific weather environments.
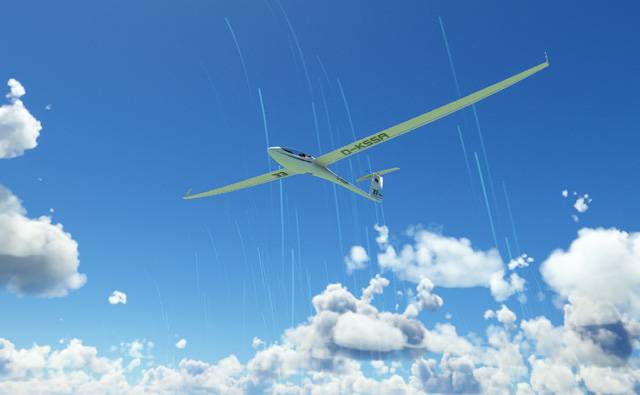
Thermals for Gliders
These thermals were tested over the flat lands of central America where a significant amount lift can be achieved. In mid summer at noon it is possible to reach the cloud base. The same presets perform less effectively on hills and mountains so a lot more care and effort is required to stay aloft.
Overview
The strength of the thermals depends on:
- The latitude – a temperate zone works well
- The altitude – choose a low altitude airport
- The season – choose summer for best lift
- The time of day – choose noon for best lift
The two thermal presets have been tuned for the AS-33ME with full water ballast at mid summer and mid day at Stigler Regional Airport (KGZL) in central America. At that location, its possible to go to 10,000 ft on a thermal updraft, however, in France at Challes-les-Eaux (LFLE) it is difficult to reach half that altitude.
How to Find a Thermal
Bear in mind that the clouds and thermals are floating downstream of the prevailing wind. The highest altitude of the thermal will be downwind, near the cloud base. The lowest altitude of the thermal will be upwind, near ground level at the edge of the shadow assuming you are flying at mid day in summer. To meet the thermal at your current altitude, follow the direction the wind is travelling through the centre of the cloud.
When you find some lift, you will want to maximise the amount you can get by performing a circling search pattern. Experienced pilots suggest adjusting the size and position of the turning circle but not changing the direction of the circle.
Wind Visualisation
The flight sim can show you where active thermals are: open the weather dialog box from the in-sim toolbar then enable the checkbox on the bottom-right hand side. You will now be able to see blue trails moving upward from hotspots on the ground. The trails are for general guidance but do not accurately show how the wind is moving. You can find the strongest thermals by looking for the highest reaching, and thickest collection of blue lines.
Instructions for New Glider Pilots
I recommend the AS-33ME since it is has excellent and intuitive instruments onboard that will help you track thermals and wind direction.
New pilots, please follow these instructions in order to engage all the available help:
- Preferably select the AS 33ME glider for your first flight, and leave it with full water ballast. If you are using a lighter aircraft, you can decrease the strength of the thermals as described in the overview.
- Select the tow plane as your means of reaching altitude.
- Select airport KGZL (Stigler Regional Airport) in central USA; the terrain is flat, making it perfect for concentrating on thermal lift. It is at 599 feet (183 m) above mean sea level so the air is more dense than airports in the hills and mountains.
- Load the flight and the flaps lever will be set to A for Aerotow (if you are using the AS-33ME).
- Set the month of the year to June (the summer month in the flight location).
- Set the time of day to noon since this preset is tuned to the maximum thermal energy at that time.
- For extra help on your first flight, switch on the wind visualisation at the bottom left of the presets dialogue box.
- Move your rudder left and right twice to indicate to the tow plane pilot you are ready to go.
- When you lift off, retract the wheel.
- During the tow, keep the tow plane visible and in position just above the cockpit rim, following it gently as it turns.
- Release the tow rope when the tow plane moves its wings up and down several times.
- Move the flaps lever to T2 for maximum thermal lift (if you are using the AS-33ME) potentially adding in a small amount of pitch up to reduce the effort on the stick.
- Head for the nearest big cloud, this is where the thermals are most intense.
- Follow the wind direction into the centre of the cloud. In theory, the strongest thermals will have made the cloud and pushed it downstream. You will want to be on the upstream edge of the cloud shadow so you can make good use of the increasing lift while you seek the centre of the thermal.
- Begin circling when you meet a thermal as indicated by your instruments and variometer. If you do not immediately find a thermal, you should perform a search pattern and double back wherever you find reasonable lift.
- Gain a few thousand feet so you can make a long distance run to a new location.
- When you begin your flight to a new location switch the flaps to -1 (if you are using the AS-33ME). Adjust the pitch to achieve a smooth, straight flight without the slow undulating motion.
- Follow the Arkansas River to the East for some scenic sights. Seek some extra lift at 3000 feet to avoid being trapped in less energetic air at lower altitudes.
- Before landing, empty the ballast tanks using the switches on the right of the cockpit (if you are using the AS-33ME).
- When starting the landing sequence set the flaps to L for maximum drag (if you are using the AS-33ME), drop the wheel when you are close to the airfield and use the spoilers or side-slip as necessary to achieve the correct glide slope for the runway.
Persistent Rain
If you are an avid fan of relentless rain, for best results please read on.
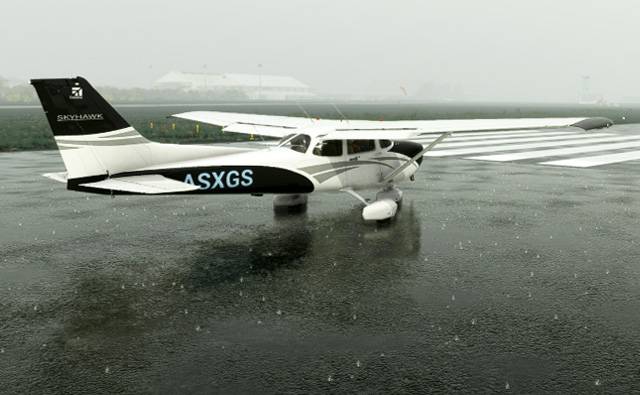
Whilst some of the Epic Clouds have rain, none of them have consistent rain. As requested, there are now three levels of consistent rain to choose from, with the following constraints:
- The upper limit of the rain is currently 4000 ft above sea level (ASL). This allows the environment to be well illuminated and allows you to climb out of the rain if you wish.
- The cloud and rain will thin out over higher ground when flying over a hilly surface.
- In mountain ranges the rain is limited to the valleys provided these are low enough to allow rain to form.
- There will be variations in the local density for each rain setting, even when flying over flat terrain.
- The amount of rain falling can change as the day progresses.
Turbulence
(i.e. the gusting winds preset)
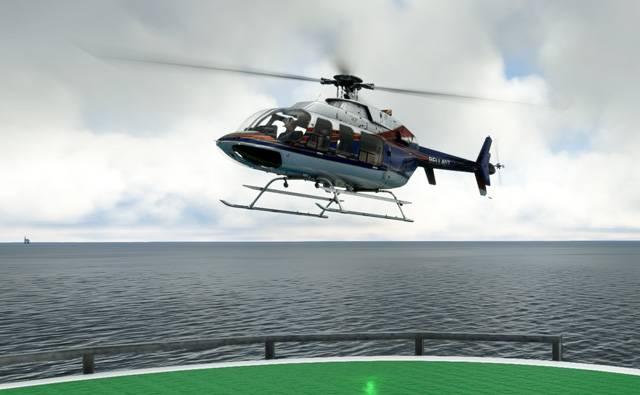
Gusting winds make flights a little more challenging – but remember to turn the ‘Assistance’ setting for turbulence to realistic or you wont feel a thing! Helicopter pilots report that cross-winds are more problematic than wind speed during landing and there are two strengths to choose from. If you think they need to be adjusted, let me know.
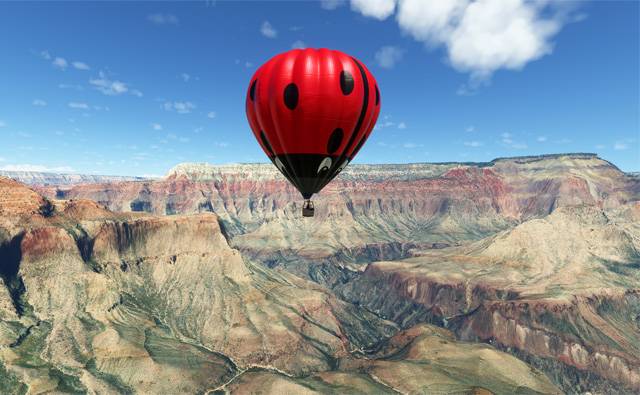
Directional Winds for Balloons
The presets for the HPG Hot Air Balloon will allow you to choose your direction of travel by adjusting your altitude between two wind layers, just as in real life. Although it’s not as realistic, it will give you more control over where you go without the need to create a flight plan.
Currently, there is an Asobo bug in the wind direction between 0 and 359 degrees and the hot air balloon presets have been designed to avoid that problem, but it prevents me from making a Southerly wind preset (and therefore the matching Northerly preset).
Controlling the Balloon’s Direction
The presets will point the balloon North or South when it first gets off the ground. When the control altitude is reached and the wind layers begin to mix and the balloon will swing clockwise when rising. However, there is a complication in the ‘rising’ and ‘falling’ definition which is explained below.
Here is the full sequence for the Westerly preset:
- Initially, the balloon will be pointing in a direction chosen by the flight sim
- At +1 ft, the balloon will orientate itself to point North due to a 1 knot wind
- At +100 ft the balloon will begin increase speed to the North
- Between +500 and +1500 ft the balloon will swivel from North to South. When in this range you can set the balloon controls in the tablet on the dashboard to maintain a fixed height above ground level (refer to screenshot below). This will help you to stay oriented in your chosen direction like an autopilot.
- Above +1500 ft the balloon will travel South.
How to Use the Autopilot
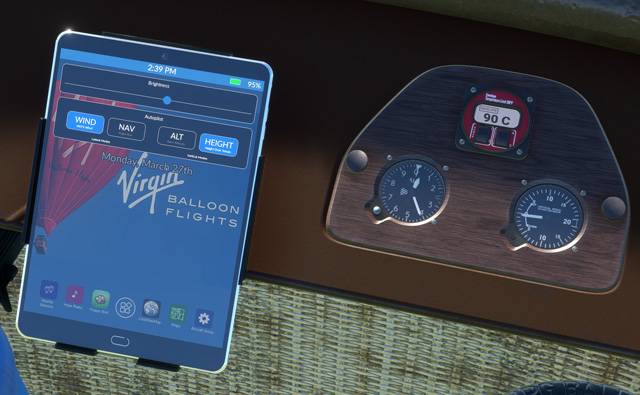
You can use the tablet as an auto-pilot! Select the middle button, then select WIND. You should enable the HEIGHT when you are facing the direction you want to go. In hilly areas you will need to switch to manual control factor in the delays in changing altitude and envelope temperature.
The Difference Between the Presets
The two presets are rotations of each other, giving you the following benefits:
- If you are travelling North or South, you have the choice of flying at +500 ft or +1500 ft by selecting the correct preset.
- You can travel over a large chasm like the Grand Canyon by selecting a preset with a +1500 default direction that matches your direction of travel. For example, the Easterly preset points the balloon North when the relative altitude of the balloon exceeds 1500 ft as it will do when you go over the lip of the canyon.
A Complication in the Control Mechanism
The balloon presets use the altitude of the balloon minus the average altitude of the area to calculate the speed and direction of the balloon.
On flat ground there is no difference between the balloon altitude and the average ground altitude. On undulating ground there will be a difference and that will affect the direction of the balloon. In simple terms, if you fly low over a ridge you can expect to see the balloon turn left.
The way to get around this problem is to take the balloon out of automatic pilot and manually predict and control the lift that you will need so that the balloon’s altitude mirrors the average altitude of the ground so that your relative height above ground remains constant.