Star Citizen Flight, Refuel, Repair & Navigation
Here are the considerations and how-tos for take-off, flight and auto landing. The revised control model is great for mouse and keyboard.
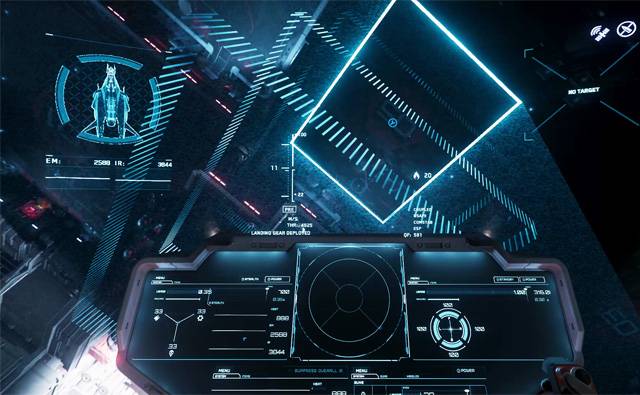
Refuel & Repair
Refuel and repair can be activated while your ship is on a landing pad.
Open the mobiGlas and select the maintenance (wrench) icon to buy fuel and repairs. The most likely pads to provide services are the busiest ones at the main centres such as Lorville, Area 18 spaceport and similar.
- Ensure you are in your ship with power on or press R to go to the flight-ready mode.
- Open the mobiGlass F1
- Select the maintenance (wrench) icon at the foot of the display
- Click on all the items you want then hit confirm.
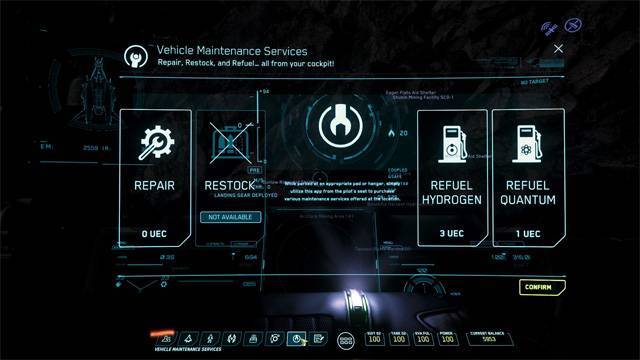
The chances are that you will need refuelling somewhere a little more remote than that, in which case the Rest Stops scattered between the planets are your best bet. You won’t be able to rely on them always providing what you want though.
If your icons indicate the items are not available, it might be a bug in the game state. You might be able to work around bugs by changing the situation in some way and trying again. For example, turn off engines, get out of the ship, wait a bit and then get back in the ship again.
If all else fails at a Rest Stop or major hub, you can go inside and summon a fully fuelled ship that way. It won’t be the same one you just left, so anything you leave on board will be lost.
The least forthcoming will be small outposts with pads. It’s worth a try, but I’ve not found anything available so far. Before you leave any pad it’s a good idea to check that your ship is in good shape for your onward journey.
Ship Controls
- Start / Stop
- R – Flight ready on/off
- U – Power on/off
- I – Engine on/off
- Y – Exit seat/bed/eject
- Landing / Lift Off
- LEFT CTRL whip down
- SPACE – Ship up
- N – Raise/lower landing gear
- N+hold – autoland on a pad (flight serviced pad only)
- Movement
- W, A
, S,D – forwards, left, backwards, right - Q, E – Roll ship left/right
- Mouse Wheel – Set speed limit/target (lowest value: > 0)
- C – Cruise control on/off locks forward speed to the limiter
- V – Flight assist on/off
- SHIFT – Afterburner
- X – Space brake
- T – Lights
- W, A
- Quantum Travel
- B – Spool hyperdrive / Show location markers
- B (long press) – Engage hyperdrive
Ship Control Notes:
- When Cruise Control (CC) is engaged, a small arrow appears next to the speed limit line on the HUD.
- CC locks the forward speed to the limiter and the lowest value is greater than zero. Tip: don’t use CC in confined areas! Instead press+hold the direction keys while adjusting the desired speed with the limiter using the mouse wheel.
- Use V to decouple the ship from Flight Assist, especially during flight or fight.
- You can spool the hyperdrive while it is being calibrated. If you are close to the target, spooling will happen automatically.
Manual Control
Use the W key to thrust forward up to the limiter which is controlled by the mouse wheel. You will have to hold down the key to keep thrusting. This is the recommended control method for landing especially.
Cruise Control
Engage C to thrust forward at the speed set by the limiter. In this mode, the limiter acts as a velocity control.
Decoupled Control
When decoupled, the ship continues to move in one direction. You can orient your ship without changing the direction of travel.
How to Combat Engine Overheating
During long Quantum Travel times engines can overheat and shut down. Here’s how you can delay it:
- Turn off cruise control before a quantum jump C
- Boost your engines using the shields/engines/guns energy triangle or F5
- Overclock an engine
To overclock an engine, use the F key and mouse wheel to zoom in on your cockpit multifunction displays (MFDs) then press some buttons to find the energy triangle and engine controls. The engine will have an overclocking button next to it.
Gaining Extra Speed
In all the situations where you want to gain some extra speed in a straight line:
- Ensure your landing gear is up – N
- Ensure you are in decoupled mode – V
- Put the limiter to the top of the scale – mouse wheel
- Apply forward thrust – W
- Apply Afterburner – SHIFT
Keep the forward thrust and afterburner applied until the engine starts to overheat and then release. By being in the decoupled mode you avoid the braking effect of cruise & Manual control. If you are climbing from the surface to orbit the first few burns will fade away fairly quickly. As you go higher the velocity decays at a lower rate.
Using the same trick in space requires good judgment. As a precaution, aim slightly away from your target in case you overshoot.
Take-Off & Landing
How to Request Landing Services
At major ports, you must request Landing Services to open hangar doors so you can leave or enter.
- Use F1 to open the mobiGlas
- Find the Comms button at the lower left
- Select the contacts tab at the top left
- Hail the Landing Services
- You can close the mobiGlas without waiting for a reply.

Once you have been granted permission to leave the hangar doors will open. The doors might be above you, to the front, back or to one side. You’ll need to have a look around to find out which.
The Takeoff Sequence
Assuming you are now correctly seated in the pilot’s seat, not the copilot’s seat:
- If necessary hail the landing services to open the hangar doors.
- From the cockpit use F+Mouse to find and select Flight Ready or press R. The power comes on and engines are engaged.
- Use the mouse wheel to set the limiter to a minimum.
- Ensure your mouse cursor is centred in the HUD so your ship will remain level when you start to move.
- Press SPACE to clear the ground a little.
- Press N to retract your landing gear
- Exit with careful manual use of flight controls
Flight Lanes
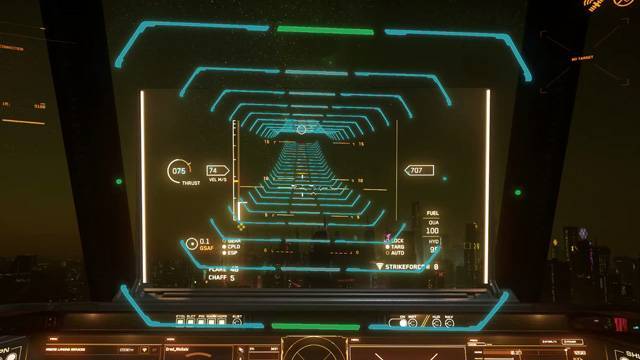
The larger locations that are fairly close to the cities will have flight lanes that should be used to enter and exit the landing areas. These will be activated when you have contacted ATC and have been granted permission to land or take off.
Remember to look for them if you are approaching an area you haven’t been to before. If you fail to use a provided flight lane you run the risk of destroying your ship on the city shields.
From Surface to Orbit
By orbit, I mean a place where Quantum Travel (QT) will be available. QT is not available when you are within the atmosphere of a planetary body; your QT targets will be coloured orange and have Exit Atmosphere displayed next to it.

The quickest way to exit the atmosphere is to set the ascent angle to 90° relative to the planet’s surface using the elevation indicators in the centre of the screen. Use the decoupled mode (V) to prevent the braking effect of assisted flying.
On Hurston, the atmosphere thins out to an acceptable density at an altitude of 100km. When you have reached a safe QT altitude, the elevation indicators and the Exit Atmosphere warning will disappear and your target-marker will turn green.
From Orbit to Surface
There are two ways to get to the surface:
- Blast down all the way using full thrust and afterburner (SHIFT)
- Select a surface target and go halfway there with Quantum Drive
A shortcut method is to press B to overlay the landing targets on the moon or planet then move the HUD centre cross over the target. Wait for calibration and spooling to complete then press and hold B to hyperdrive towards the target.
Its often simpler to use the mobiGlass to find and select a target in a similar manner that you have done before, except that the targets will be on the surface rather than out in space.
After you initiate Quantum Travel, the navigation system will take you around the planet to reach the selected location and release the ship at high altitude. The ground location targets will have disappeared, so press B once more to make the ground location visible again. Now use full thrust and afterburner SHIFT to cover the remaining part of the distance.
In addition to this method, you can also select an orbital marker or other target and break out of hyperspace partway through the flight. This can be useful to get around a planet or moon quickly.
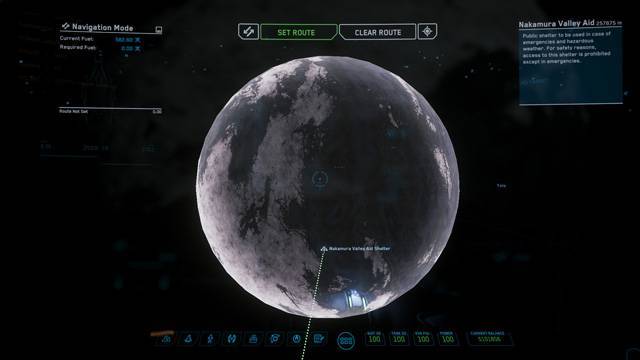
Remember that you can change the view using F4 and Z to enable free-look at any time.
Auto Landing on a Landing Pad
Note: Deploy your landing gear in order to get HUD feedback on which landing pad to go to and to allow auto-landing.
It appears that not all landing pads have an autoland function, especially low population outposts.
- Lower your landing gear N so that HUD symbols and auto-land facilities will be available.
- Ensure you are not using cruise control C
- Ensure you are not in decoupled mode V
- Set the limiter to low speed
- On major hubs hail the landing services to request a landing pad or hangar. The destination will be marked with a maintenance icon (wrench) and the perimeter of the landing pad will display a holographic wall.
- Use W to approach manually.
- To auto-land, go to the selected pad, ensure your ship is enclosed in the guide walls and fairly close to the pad then Press+hold N until autoland commences.
Landing Permission Problems
In the past, I’ve had problems either getting a landing request through or being allocated a landing pad. In this case, you can try landing on a pad anyway and quickly nip off before anyone sees you :0)
Landing on the Surface
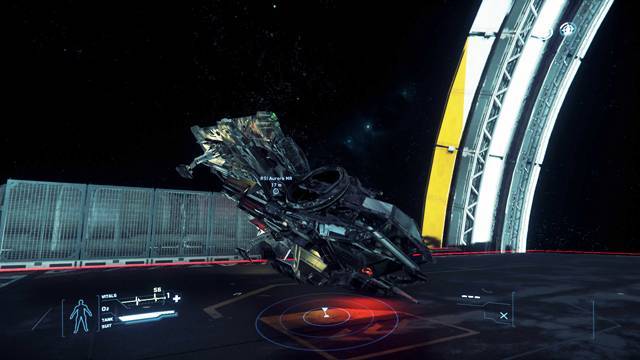
Ships have mass and momentum and now you are more likely to hit the planet’s surface than ever before. Some ships have a mass that can’t be supported on the larger planets and are more prone to hitting the surface, so take that into account. You might need to level off to a shallower angle as you approach in order to give yourself more time to manoeuvre.
As well as flying at a downward angle, you can use LEFT-CTRL to push the ship downward. When you are near the surface, slow the forward speed S, and deploy the landing gear N.
Upon landing use F+mouse to select Engine Off from the cockpit panel, use Y to leave your seat.
Orbital Markers
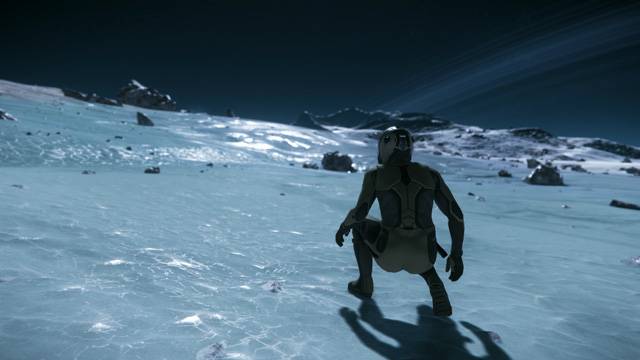
Orbital markers rotate in sync with the planet and are geostationary, so you can use them to identify a general location on the planet’s surface.
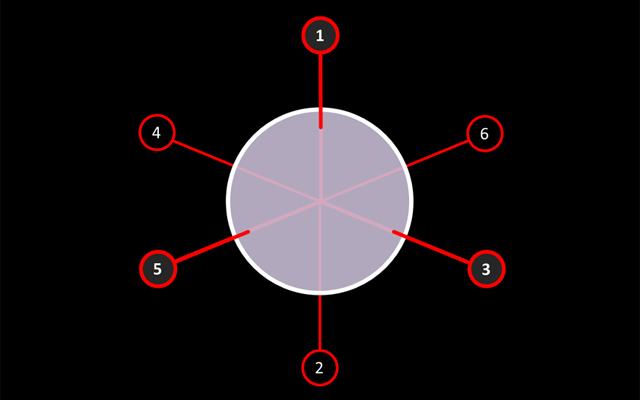
OM1 and OM2 mark a line through the planet poles and I would be inclined to think that OM1 marks the ‘UP’ position for the solar system as far as the developers are concerned. From a player’s perspective, OM1 and OM2 mark a line perpendicular to the orbital plane and both sides of the plane (the North and South hemispheres) are similar. If you are going to meet team members at a planet, the polar markers are always visible although you will arrive at the equator and you can’t be sure which of the equatorial markers will be closest.
Interestingly, the perpendicular lines that lay in the orbital plane and the equator are numbered as pairs (3,4) and (5,6) instead of clockwise as seen from OM1. As you go around the equator the numbers are not in order so if you get disorientated the marker numbers are less helpful than they could have been.
The distances from three markers will give you a rough location on the planet, but it’s not as easy to find a location as it sounds.
This section will show you how to navigate between distant locations such as moons, planets and rest stops.
Open the Star Map
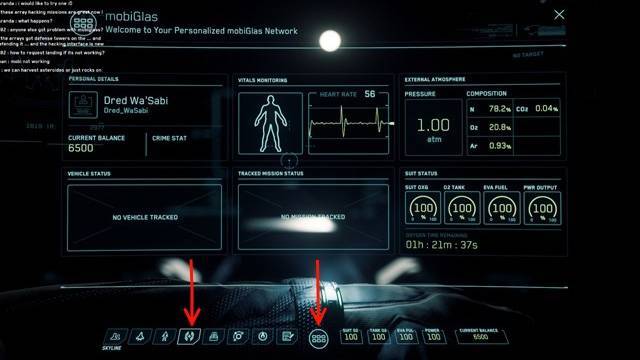
To plot a course between planetary bodies you will need to open the star map F2. The map will open but might be zoomed so far can’t see anything onscreen! You will have to shrink the map using the mouse scroll-wheel and you will see planets Hurston, Crusader and their moons.
Map controls:
- Press and hold the left mouse button to rotate the map
- Press and hold the right mouse button to move the map.
You can also get to the star map by clicking on F1 then click the symbol that looks like ((+)) to access the Star Map. You can find it in a strip of icons running across the lower part of the display.
Select a Destination With the Star Map
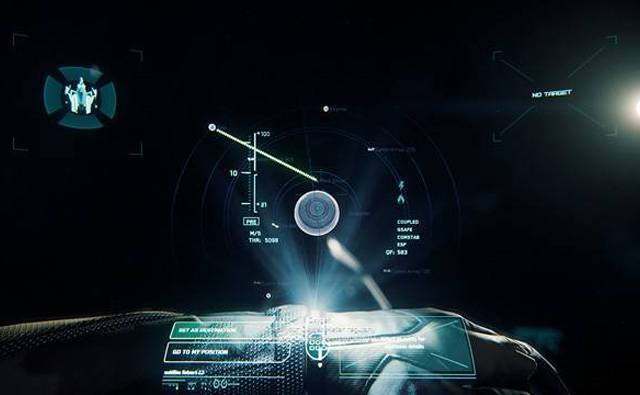
On your first flight select a local moon using the mouse to click on its symbol. A dotted line will appear showing that you have selected a potential route. Press the Set Route button to confirm this is the route you want and the connecting line becomes solid.
You can optionally, double-click the target moon to zoom in and select a named destination on the surface, or you can do it when you arrive.
Note:
If you select a route that is longer than your fuel permits you will need to use a rest stop as a refuelling station. The larger the ship the more fuel it carries.
Select a Destination Without the Star Map
If you press B without selecting the destination, the available targets will appear as icons on your view. These might be moons/planets (marked with circles), places on a surface (marked with arrowheads) or orbital markers. There is no clear way to tell if a location on a surface is actually beyond the horizon rather than in front of you, other than the distance scale. Anything bigger than 150 km may be over the horizon.
Lock Target, Calibrate & Spool the Engines
Close the mobiGlass UI controls F2.
Use the Radar
If you have a visible radar in your ship it might now have a line on it pointing the way to your destination. Spin the ship around using Q or E until the radar destination line is pointing upward. Raise the ship’s nose until the line shrinks down to the centre of the radar and your destination simultaneously arrives at the centre of the screen.
Using a Triangular Marker
If your target isn’t onscreen, and the radar isn’t helping there may be a small triangular marker indicating where you can find your target. Move the nose of your ship towards the triangle and the nearest monitor edge until it disappears. When that happens your target is visible somewhere onscreen.
Line Up & Spool Engines
Your target will be marked with a circular icon. Put your HUD cross-hairs over the icon press B to enable the quantum drives. A ring will appear onscreen and it will indicate that calibration is taking place when your nose lines up with the target (wait a bit). If spooling isn’t already underway or completed, press B to initiate that part manually.
Note: calibration is speeded up significantly when spooling is activated or completed.
Engage Hyperspace
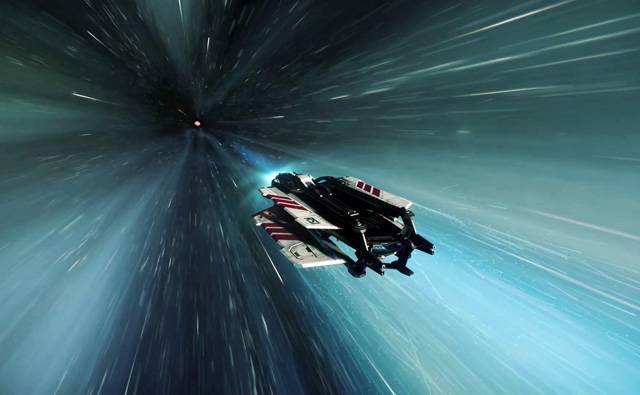
When the hyperdrive is both calibrated and spooled, press and hold B to engage the quantum drives.

